Making your own plush toy is a rewarding creative journey. From selecting materials to final stitching, each step shapes a unique and cuddly companion you can proudly call your own.
Creating a plush toy involves gathering the right materials and tools, designing custom patterns, mastering sewing techniques, choosing appropriate stuffing, adding finishing details, and ensuring safety and durability. This comprehensive guide breaks down each step clearly to help you craft a professional-quality plush toy from scratch.
Let’s explore the entire process of making your own plush toy with clear steps and expert tips.
1.What materials and tools do you need to start making your own plush toy?

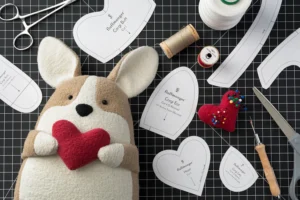
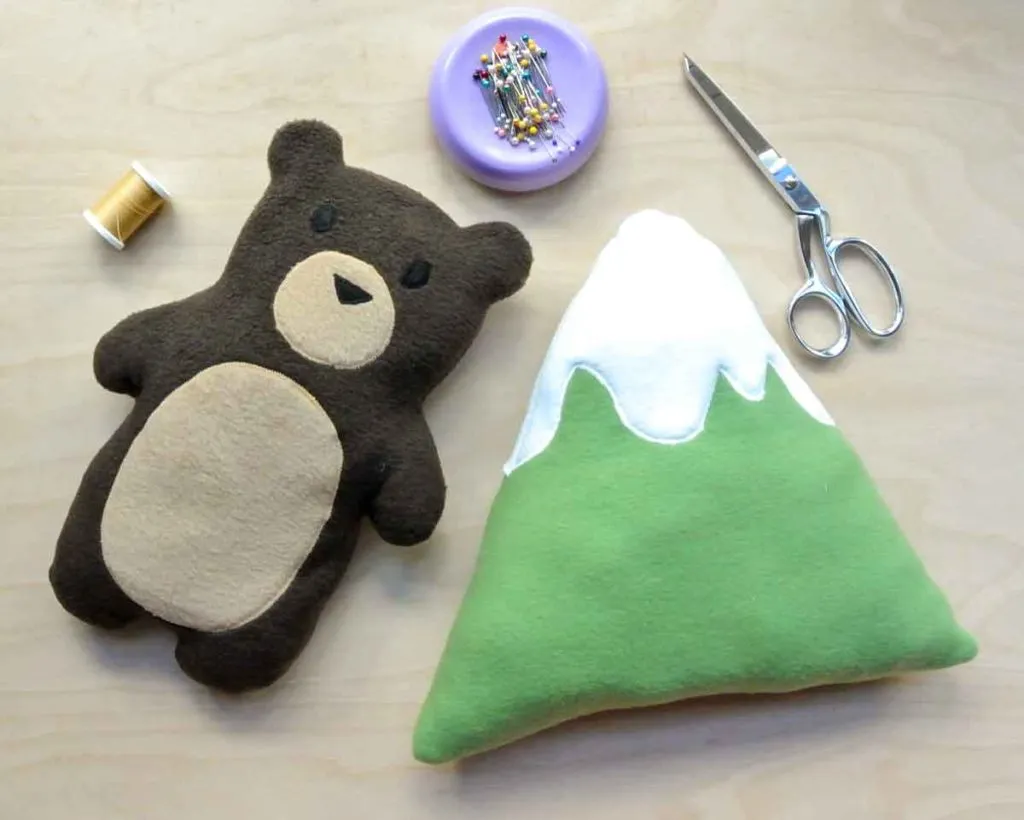
Starting with quality materials and essential tools sets a solid foundation for your plush toy project.
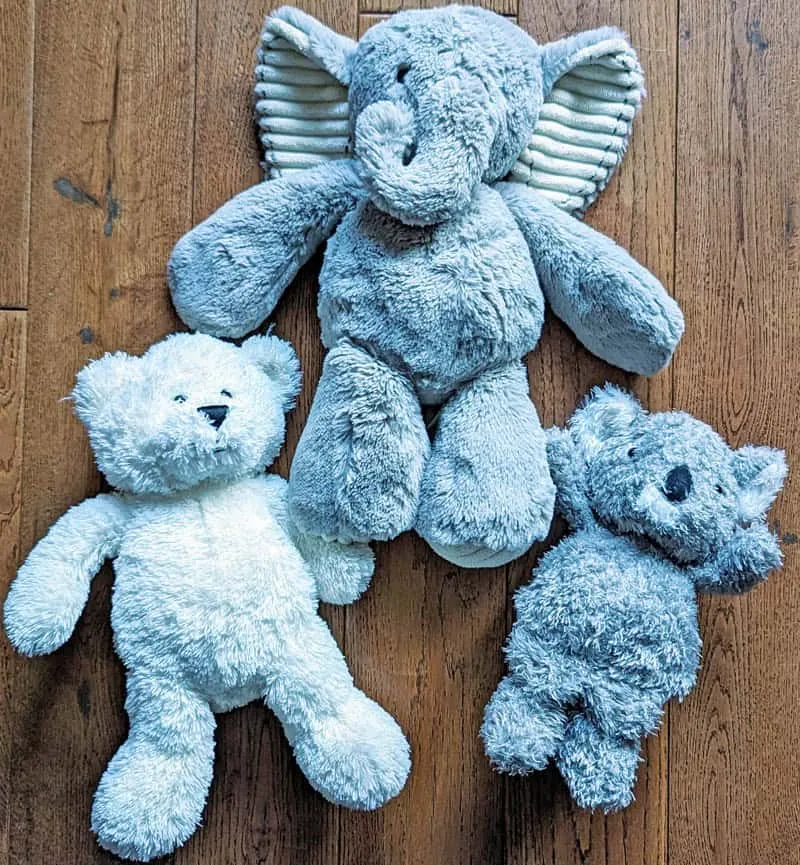
Key materials include soft plush fabric like minky or velboa, polyester fiberfill stuffing, strong sewing thread, and safety components such as embroidered eyes. Tools like scissors, sewing needles, sewing machine, pins, and pattern paper are also necessary for accurate cutting and assembly.
To create a plush toy that is both appealing and durable, selecting the right materials is crucial. Here’s a breakdown:
| Material/Tool | Purpose | Notes |
|---|---|---|
| Plush Fabric | Exterior softness and look | Minky and velboa are popular choices |
| Polyester Fiberfill | Stuffing to provide softness and shape | Hypoallergenic and washable |
| Sewing Thread | Holds pieces together securely | Polyester thread is strong |
| Safety Eyes/Embroidery | Adds facial features safely | Avoid small parts for kids under 3 |
| Scissors & Rotary Cutter | Cutting fabric precisely | Sharp tools improve accuracy |
| Sewing Machine | Speedy and sturdy stitching | Industrial machines improve durability |
| Pattern Paper | Template for cutting fabric pieces | Can be reused for multiple toys |
Using the right tools speeds up production and improves the quality of the final plush toy. For beginners, hand sewing is possible but more time-consuming. Investing in a basic sewing machine makes assembly easier and stronger.
Fabric choice affects texture and durability. Minky offers a smooth, luxurious feel but may be pricier. Velboa is durable and vibrant, suitable for mass production. Fiberfill must be lightweight yet resilient to maintain shape after play or washing.
Proper tools and materials reduce mistakes and improve safety, which is vital when plush toys are intended for children.
2.How do you create and finalize a custom plush toy design and pattern?
A clear and precise design paired with a detailed pattern ensures your plush toy looks exactly as imagined.
Start by sketching your toy’s design, focusing on shapes, size, and key features. Translate this sketch into a pattern by breaking the toy into flat pieces to cut from fabric. Finalize by creating paper templates that guide fabric cutting accurately.
Creating a custom plush toy involves several steps:
Initial Sketch and Conceptualization
Begin with rough sketches of the toy, noting proportions, facial features, limbs, and special details. Consider the target audience’s preferences and usability.
Breaking Down into Patterns
The toy’s 3D shape is created from flat fabric pieces. Divide your sketch into parts—body, arms, legs, ears, tail, etc. Each part becomes a separate pattern piece.
Drafting Paper Templates
Use pattern paper or cardboard to draft each piece with seam allowances. Number and label pieces clearly for assembly.
Testing and Refining Patterns
Create a prototype with inexpensive fabric to test shapes and sizes. Adjust patterns for fit and symmetry.
Digital Pattern Tools (Optional)
Software like Adobe Illustrator or specialized plush toy design tools help create precise digital patterns, ideal for scaling and sharing with manufacturers.
| Step | Description | Tips |
|---|---|---|
| Sketching | Initial toy concept | Focus on simple shapes |
| Pattern Breakdown | Separate toy into flat pieces | Add seam allowances (usually 0.5 cm) |
| Template Drafting | Create reusable paper templates | Label clearly |
| Prototype Testing | Sew rough sample for fit check | Adjust patterns accordingly |
| Finalization | Prepare patterns for cutting fabric | Double-check symmetry and details |
Accurate patterns are key to efficient production and consistent quality. A well-made pattern reduces fabric waste and ensures all parts fit perfectly.
3.What sewing techniques are essential for assembling a plush toy?
Precise sewing techniques guarantee a plush toy’s durability and neat appearance.
Important techniques include backstitching for secure seams, ladder stitch for closing openings invisibly, and reinforced stitching at stress points. Using a sewing machine speeds up assembly and ensures strong seams.
Understanding essential sewing techniques improves the quality of your plush toy:
Backstitching
This hand-sewing stitch is strong and used to join seams. It creates a tight and durable seam but takes time.
Ladder Stitch (Invisible Stitch)
Used to close openings after stuffing, ladder stitch hides stitches inside the fabric, giving a clean finish.
Machine Stitching
Industrial or home sewing machines offer fast, consistent seams. Use straight stitch for assembly and zigzag stitch for stretch areas.
Reinforcing Stress Points
Areas like joints and limb attachments require extra stitches or double seams to prevent tearing.
| Technique | Purpose | Application |
|---|---|---|
| Backstitch | Strong hand-sewn seams | Joining pieces before machine sew |
| Ladder Stitch | Invisible closing stitch | Final closing after stuffing |
| Straight Stitch | Machine assembly | Main seams |
| Zigzag Stitch | Stretchable seams | Flexible areas |
| Reinforcement | Extra durability | Limb joints, ears, tails |
Proper thread tension and needle size prevent fabric damage. Practice consistent stitch length for neatness. For beginners, combining machine sewing with hand finishing offers good balance.
4.How do you choose and insert stuffing to achieve the perfect shape and softness?
The right stuffing and technique define your plush toy’s feel and form.
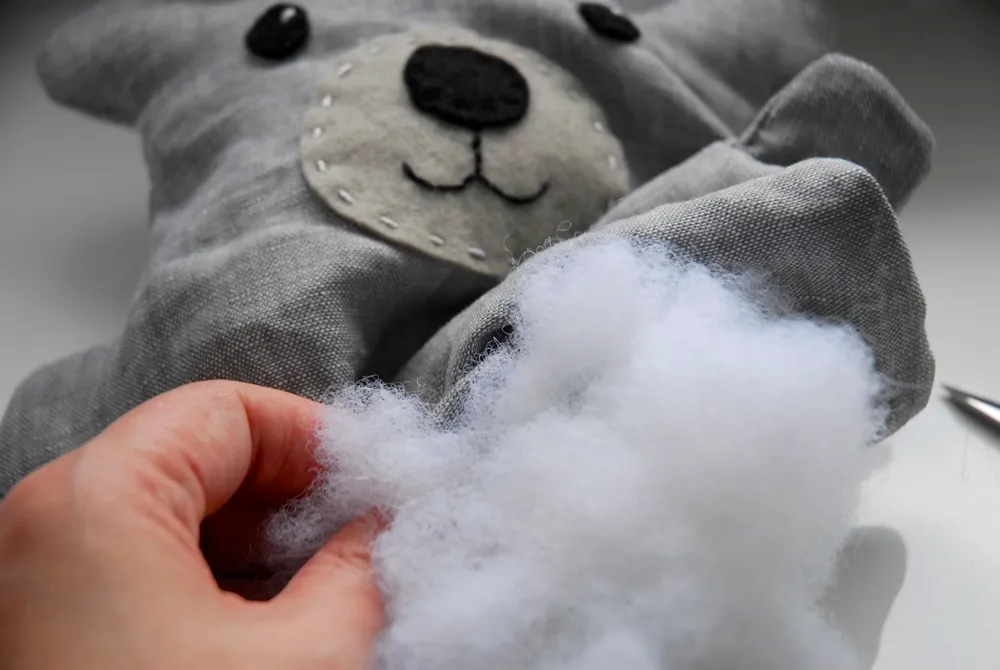
Use polyester fiberfill for lightweight, hypoallergenic softness. Insert stuffing evenly in small amounts, shaping limbs and features carefully. Avoid overstuffing to keep softness and prevent seams from bursting.
Stuffing affects both aesthetics and durability:
Types of Stuffing
| Stuffing Type | Characteristics | Pros | Cons |
|---|---|---|---|
| Polyester Fiberfill | Soft, fluffy, washable | Lightweight, hypoallergenic | May flatten over time |
| Foam Pieces | Adds firmness | Good for structural support | Heavier, less cuddly |
| Beads or Pellets | Adds weight and texture | Provides tactile interest | May leak or shift |
| Natural Fillings | Cotton, wool | Eco-friendly | Can attract pests, less washable |
Inserting Stuffing
Work in stages, starting with small limbs, filling them firmly but not too tight. Use chopsticks or stuffing tools to reach corners. Shape the toy gradually to avoid lumps.
Overstuffing Risks
Too much stuffing stresses seams and reduces softness. Understuffing causes limp, shapeless toys.
Maintaining Softness and Shape
Add stuffing until the toy feels plush but squeezable. Pay attention to the head, arms, and legs for balanced firmness.
5.What finishing touches and details enhance the uniqueness of your plush toy?
Personalized features make your plush toy stand out and add charm.
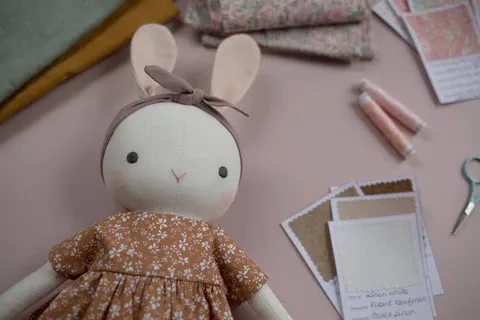
Add embroidered facial details, custom clothing, accessories, or unique fabrics. Decorative stitching and appliques also enhance appeal and brand identity.
Custom touches create emotional connections:
Embroidery vs. Safety Eyes
Embroidery is safer for kids and allows more expression. Safety eyes add realism but need secure attachment.
Clothing and Accessories
Hats, scarves, or small clothes add personality and market appeal. Choose washable materials.
Applique and Patchwork
Fabric shapes sewn onto the toy create textures and patterns.
Branding Elements
Custom tags, labels, and hangtags increase perceived value and help with retail.
| Detail Type | Effect | Use Case |
|---|---|---|
| Embroidery | Safe, detailed facial features | Children’s toys |
| Safety Eyes | Realistic look | Collectible toys |
| Clothing | Personality, seasonal themes | Gifts, promotions |
| Appliques | Decorative, tactile | Unique designs |
| Branding Tags | Professional finish | Wholesale, retail |
Adding finishing touches also increases perceived value and customer satisfaction.
6.How can you ensure your homemade plush toy meets safety and durability standards?

Meeting safety standards protects children and builds trust.
Follow regulations like CE and ASTM by choosing non-toxic materials, avoiding small detachable parts, securing all seams, and testing for flammability and choking hazards.
Material Safety
Use certified, non-toxic dyes and fabrics. Avoid allergens and harmful chemicals.
Secure Construction
Double stitching and reinforced joints prevent loose parts. Avoid buttons or small accessories for young children.
Testing Requirements
Commercially sold plush toys often require testing for flammability, choking hazards, and mechanical safety.
Durability
Test toys under stress and wash cycles to ensure longevity.
| Safety Aspect | Requirement | Implementation |
|---|---|---|
| Toxicity | Non-toxic materials and dyes | Source certified suppliers |
| Small Parts | No loose buttons or beads | Use embroidery for details |
| Seam Strength | Strong, reinforced seams | Double stitching on stress areas |
| Flammability | Compliance with fire safety standards | Use flame-retardant fabrics |
Adhering to safety and durability standards prevents recalls and enhances brand reputation.
Conclusion
Making your own plush toy is a detailed process that combines creativity with careful craftsmanship and safety considerations.